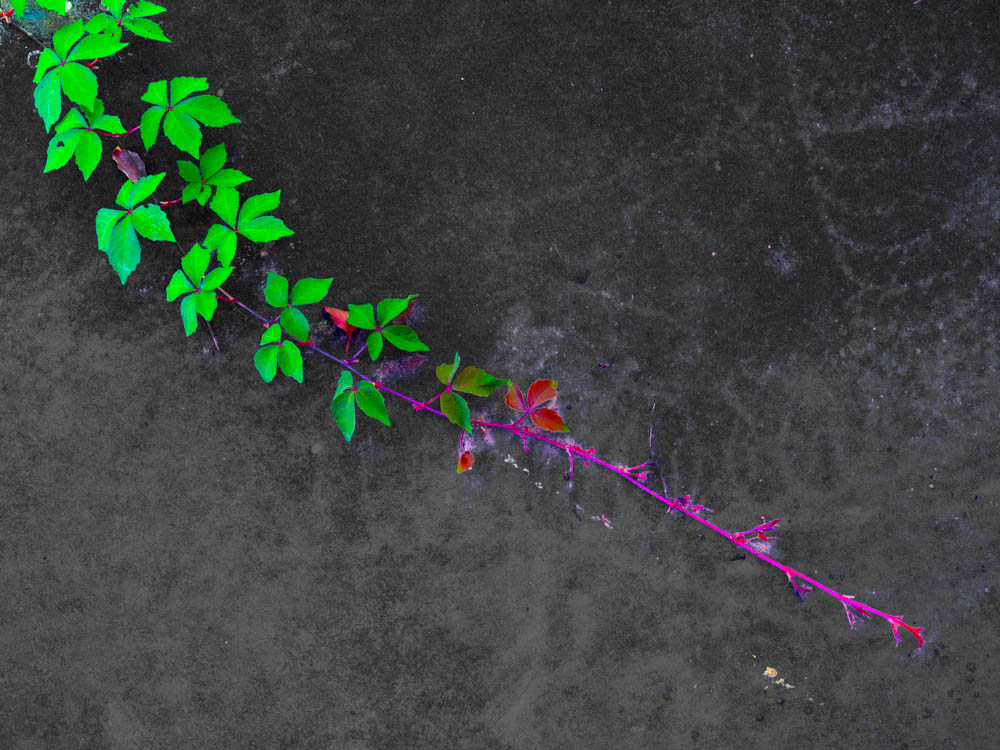
I’ve been experimenting with a Photoshop technique that has intriguing me after working with a friend in the Essex Photo Club. I’m sure it’s been done before, but it’s essentially a way to extract very subtle color from subjects that are otherwise fairly colorless. My usual target is bark, as it’s mostly monochromatic.
It’s a multi-step process and I am still learning
1. White Balance the RAW file before it comes in to push the image as neutral as possible.
2. Bring it into Photoshop as a Smart Object so that you can re-apply Camera Raw if needed.
3. Convert it to LAB color
4. Duplicate the layer and change the blend to Multiply. Access the layer properties and turn off the L channel.
5. Add a Curves adjustment layer
6. Manipulate the curves for the a and b channels by dragging in the curve baselines so that the curve just barely fits. What this does is expand and accentuate what little color is there.
7. I then add a H/S layer to tweak the colors.
I’m still learning and I have to go back to my mentor to talk to him. But you start with the first image and end up with the second, which I really find wonderful.